Address
304 North Cardinal
St. Dorchester Center, MA 02124
Work Hours
Monday to Friday: 7AM - 7PM
Weekend: 10AM - 5PM
Address
304 North Cardinal
St. Dorchester Center, MA 02124
Work Hours
Monday to Friday: 7AM - 7PM
Weekend: 10AM - 5PM

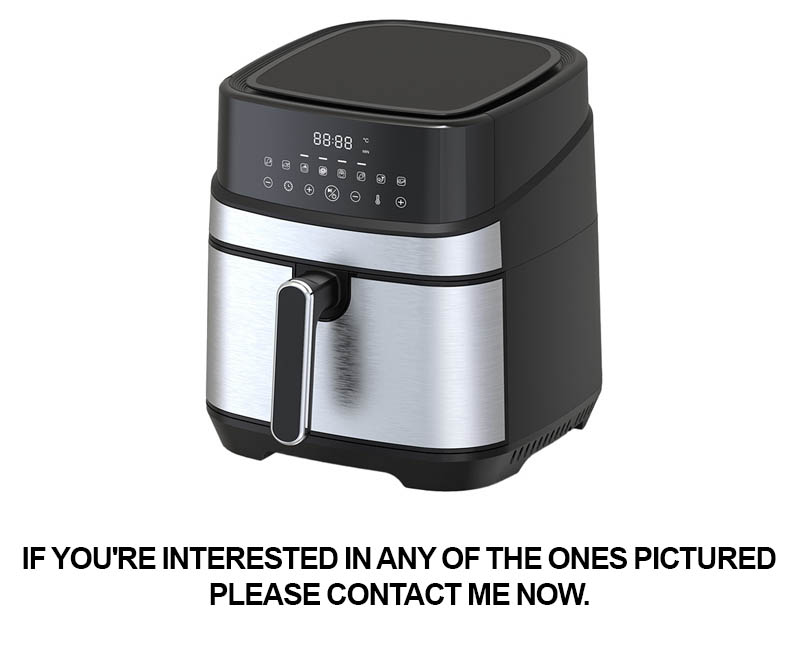
Unravel the mystery of keeping your air fryer pristine with these essential cleaning tips, perfect for those who love their appliances spotless and ready for action.
Our air fryer’s brilliance is achieved with a little elbow grease and the right cleaner. Start by unplugging your appliance to ensure safety. A warm, damp cloth can often wipe away surface grime. For deeper cleaning, consider this:
Remember, the key to a sparkling air fryer lies in regular maintenance and a little bit of persistence with your elbow grease.

To conquer the grease, start by removing the air fryer basket and heating element. They’re usually the worst offenders, so a good soak in warm, soapy water can work wonders.
For the basket, use a non-abrasive sponge or brush to scrub away the residue. Be sure to get into all the nooks and crannies where grease tends to linger.
The heating element often requires a bit more effort. Apply a paste of baking soda and water to lift any stubborn spots, then wipe clean.
The air fryer’s interior might need a gentle scrub too. A solution of vinegar and water can break down the grease and make cleaning easier.
After cleaning, dry everything thoroughly to prevent rust or odors. Use a clean towel or paper towels to ensure no moisture remains.
For a fresh start, consider a lemon or citrus spray to neutralize any lingering odors before your next cooking session.
Regular maintenance is key. After each use, remove any excess food particles and give the basket a quick wipe to keep grease at bay.
With these steps, you’ll master the art of cleaning your air fryer, ensuring it stays efficient and grease-free for years to come.
Begin by removing the basket and any accessories from your air fryer. This allows you to tackle each part separately for a thorough clean.
Use a warm, soapy cloth to wipe down the exterior of the air fryer. A gentle touch can often remove most surface dirt without much effort.
Focus on the basket next. Fill it with warm water and a splash of dish soap, then shake it gently to loosen the grease. Rinse thoroughly and dry with a soft cloth.
For the heating element, apply a paste of baking soda and water to any stuck-on food. Let it sit for a few minutes before scrubbing it off with a non-abrasive sponge.
Don’t forget to clean the fan and filter, as they can accumulate dust and debris. A quick wipe with a damp cloth should suffice.
For a refreshing scent, add a few lemon slices to the basket and heat it for a few minutes. This natural method can help eliminate odors.
Finally, make sure everything is completely dry before reassembling the air fryer. A few minutes in the oven on a low setting can speed up the drying process.
Begin by unplugging the air fryer and removing the basket and any other removable parts. A clean slate is essential for a transformative cleaning.
Fill the basket with warm water and a few drops of dish soap. Swish it around to loosen any stuck-on food particles, then let it soak for a few minutes.
Use a non-abrasive brush or sponge to scrub the interior of the basket, focusing on the grooves where grease tends to hide.
Don’t forget the heating element; apply a paste of baking soda and water to lift any residue, then gently scrub away.
For the air fryer’s interior walls, a solution of vinegar and water can be your best friend. Wipe down the surfaces thoroughly to remove grease and grime.
Once everything is clean, rinse all parts well under running water and dry them completely before reassembling your air fryer for a fresh start.

Regularly wipe down the exterior with a damp cloth after each use to prevent a buildup of grease and grime.
After cooking, remove the basket and let it cool slightly before gently scrubbing it with warm, soapy water.
Don’t overlook the heating element; a quick wipe with a damp cloth can prevent food particles from hardening.
For the interior walls, a vinegar and water solution can be a game-changer, breaking down any residue with ease.
To keep odors at bay, periodically place a few lemon slices in the basket and heat them for a few minutes.
Always dry all parts thoroughly before storing your air fryer to prevent rust and maintain its longevity.
Consider using a non-stick cooking spray to reduce the need for cleaning, as it helps prevent food from sticking in the first place.
Tackle the greasy grime by applying a paste of baking soda and water directly onto the buildup, giving it a good scrub with a sponge.
For the basket, a soak in warm soapy water can soften the residue, making it easier to scrub away with an old toothbrush.
The heating element can be a challenge, but a paste of salt and water can act as a gentle abrasive, helping to lift tough stains.
Don’t forget to clean the fan, as it can attract a lot of crumbs and dust. Use a damp cloth to wipe it down.
For the exterior, a damp cloth with a touch of vinegar can cut through grease and leave your air fryer sparkling.
Once the cleaning is done, ensure everything is completely dry to prevent odors and rust.

Begin with a damp cloth to wipe off any loose particles or crumbs from the exterior of your air fryer.
Use warm water and a bit of dish soap to tackle the basket. The gentle scrubbing action can remove most of the grease.
For the heating element, apply a paste of baking soda and water. This natural abrasive can lift away grime without damaging the surface.
Wipe down the interior walls with a solution of vinegar and water. It’s effective and doesn’t leave any harmful residues.
Don’t neglect the fan; a quick once-over with a damp cloth can keep it free of dust and debris.
For a fresh scent, toss a few lemon slices into the basket and heat them for a few minutes before cleaning.
Ensure everything is dry before reassembly, and you’re all set for the next cooking session.

Start by removing the basket and accessories, then give them a quick rinse to remove any loose food particles.
Fill the basket with warm water and a few tablespoons of baking soda. Let it sit for a few minutes to break down the grease.
Use an old toothbrush to scrub the nooks and crannies of the basket, focusing on the areas where grease tends to accumulate.
For the air fryer’s interior, mix equal parts of white vinegar and water. Wipe down the walls and base to lift away grime.
If there are any particularly stubborn spots, apply a paste of baking soda and water directly to them and let it sit for a few minutes before scrubbing.
Once everything is clean, rinse thoroughly and dry with a clean towel to prevent any mold or mildew growth.

Begin by unplugging and removing the basket from your air fryer. A simple soak in warm, soapy water can soften the stuck-on residue.
For the basket, a non-abrasive brush or sponge works well to scrub away the grease, being sure to clean all sides and corners.
The heating element can be tricky, but a paste of baking soda and water can gently lift away any gunk without damaging the surface.
Don’t forget the air fryer’s interior walls. A solution of vinegar and water can be effective, especially when you want to avoid using harsh chemicals.
For a refreshing touch, place lemon slices in the basket and heat for a few minutes to neutralize odors, then proceed with the cleaning.
Ensure all parts are thoroughly rinsed and dried before reassembling to maintain the air fryer’s performance and longevity.

Start with a warm, damp cloth to wipe down the exterior of the air fryer, removing any loose debris.
For the basket, fill it with warm water and a splash of dish soap. Swish it around and let it soak to loosen grease.
Use a brush or sponge to scrub the basket, focusing on the edges and any areas where food might stick.
The heating element can be cleaned with a paste of baking soda and water, which can lift away stubborn spots.
For the interior walls, a vinegar and water solution is a quick and effective cleaner that cuts through grease.
After cleaning, make sure all parts are dried completely to prevent any mold or mildew.
Reassemble the air fryer and you’ll have a spotless appliance ready for your next cooking adventure.

Begin with a soak. Place the basket in warm water with a dash of dish soap to loosen grease and food particles.
Use a non-abrasive brush to scrub the basket, focusing on the crevices where grease often hides.
For the heating element, apply a paste of baking soda and water, then gently scrub to remove any residue.
Wipe down the interior walls with a vinegar and water solution for a streak-free clean.
Don’t forget the fan and filter; a damp cloth will suffice for a quick dusting.
To freshen up, toss lemon slices into the basket and heat for a few minutes to eliminate odors.
Always dry all parts thoroughly before reassembling to prevent any moisture-related issues.